The Display Stand Production Process: Eight Steps from Brief to Delivery
A display stand starts with a brief and ends with palletised boxes. Eight steps sit in between, and each one carries decisions that get more expensive to reverse. This article explains what happens at each step, how long it takes and where it slips.
10 min read
ProductionATA DİZAYN
Key takeaways
The process runs in eight steps: brief, design, prototype, tooling, injection, printing, assembly and logistics.
The cost of decisions rises step by step; a detail changed in five minutes during design means days and real money once the mould is cut.
Prototyping is the cheapest insurance in the process: a design not tested under store conditions produces surprises in the first production run.
Mould manufacturing is the single longest step and largely sets the total lead time.
The shipping carton belongs at the start of the design, not the end; a stand that does not fit its box can double unit cost through freight.
From the outside, display stand production looks like a single operation: a design goes in, a stand comes out. In reality it consists of eight interdependent steps, and the feedback between them matters as much as their order. When decisions that belong to one step are skipped, the problem usually surfaces two steps later and at far greater cost.
Below we walk through the whole process, what happens at each step and which decisions get locked in. Design office, mould shop, injection park, printing unit and assembly line all run in the same facility; the timings below assume that continuity.
Step 1 — Brief
The brief is where the physical reality of the project is written down. A good brief does not constrain design; on the contrary, it clarifies which problem the design has to solve. The minimum information a display stand brief should carry:
Product dimensions and weight — per unit and total per shelf.
Packaging form and tipping behaviour — bottle, pouch, carton, blister.
Target store format and stand location — aisle, till point, shelf edge.
Target volume and expected service life.
Brand communication needs — header, side wings, front rails.
Shipping method — assembled or flat-packed.
Step 2 — Design
Design proceeds on two layers. The industrial design layer sets the form, proportions and fit with the brand language. The engineering layer makes that form manufacturable: wall thicknesses, draft angles, rib structure, joint details and the direction of release from the mould are all resolved here.
It is critical that these two layers advance together rather than sequentially. A design resolved only visually has to be redrawn at the tooling stage; a design resolved only technically goes unnoticed on the shelf.
A detail changed in five minutes during design takes days once the mould is cut. That is where the economics of the process live.
Step 3 — Prototype
The prototype is the design’s first encounter with the physical world. Whether a shelf angle that looked right on screen works with the real product, whether a joint detail can be assembled by hand, and whether the stand tips when loaded — all of this becomes clear only here.
Five things must be tested on a prototype:
1Does the product sit properly? Packaging should fit the shelf exactly — neither squeezed nor able to fall sideways.
2Is refilling easy? One person should be able to fill the stand in thirty seconds.
3Is it stable enough? The stand must not tip under a light side load, either full or empty.
4Is assembly self-evident? If it can be built without reading instructions, the design is right.
5Does the visual hierarchy work? Seen from three metres, is the product read first, or the stand?
Step 4 — Tooling
Tooling is where the design is cut into steel, and it is the single longest item in the process. Mould design, steel selection, CNC machining, EDM, grinding, assembly and trial shots all sit inside this step. Once a mould is cut, geometry is largely locked; small corrections are possible, but large changes mean a new mould.
We covered the variables that drive mould cost and lead time — cavity count, part size, steel grade, surface texture — with a worked example in a separate article: injection mould cost.
Step 5 — Injection moulding
Dried granulate is melted in the barrel of the injection machine and forced into the mould cavity under high pressure. Once the part cools and solidifies, the mould opens and ejectors push the part out. A cycle is typically measured in seconds; total production time comes from cycle time, cavity count and volume.
Quality at this step depends on the stability of three parameters: injection pressure, mould temperature and cooling time. Fluctuation in any of them produces defects such as sink marks, warping and short shots. Because different polymers respond differently to these parameters, material choice directly affects production quality; see our display stand materials article for detail.
Step 6 — Printing and dressing
Once parts are produced, brand communication is carried onto the surface. The method is chosen according to volume and service life:
Method
Suitable volume
Durability
Colour capability
Screen printing
High
Very high
Limited number of colours
Digital UV printing
Low – medium
High
Full colour, photographic
Label / film dressing
Any volume
Medium
Full colour, changeable
Coloured raw material
High
Permanent
Single-colour body
The print decision has to be made at design stage, because surface texture, draft angle and part geometry all change with the print method. Saying “let’s add print here” after the mould is cut is usually not possible.
Step 7 — Assembly and quality control
Parts are joined at this step, or kitted to be joined in store. Quality control operates at two points: sampling checks on the production line and a final check after assembly. Typical items checked are dimensional tolerance, surface defects, print position, joint tightness and stability under full load.
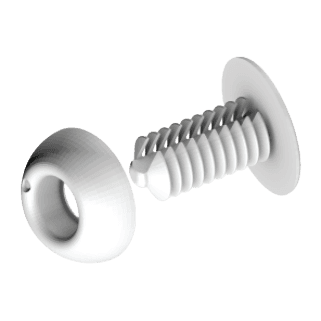
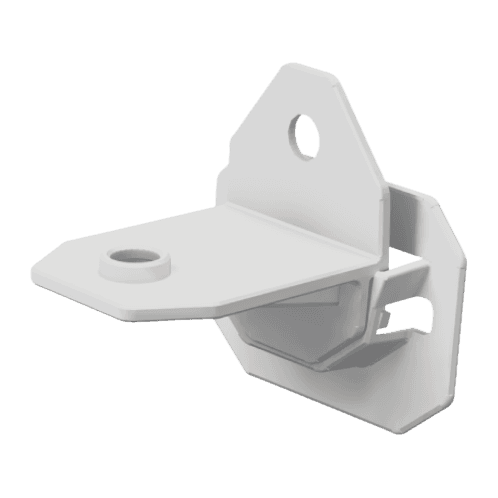
The most important decision here is whether the stand ships assembled or flat. Flat-pack shipping sharply reduces freight volume but requires in-store assembly, which in turn forces the joining design to be simple enough to need no tools. For detail on fasteners and support parts, see our store equipment guide.
Step 8 — Packing and logistics
The final step is getting the stand to the store undamaged. One thing decides everything here: box volume. How many boxes fit a pallet, and how many stands fit a box, directly sets freight cost.
This is why the shipping carton should be one of the first constraints in the design, not its last step. Whether parts nest inside each other, whether shelves stack, and whether the body packs flat are all design decisions.
Where does the process slip?
The large majority of delays happen in decision stages, not in production. The four most common causes:
The brief arrives incomplete and design proceeds on assumptions; when the real product dimensions arrive, the design is redone.
Prototype approval is postponed; tooling cannot start and the whole schedule shifts.
Artwork files arrive late; parts are produced but printing waits.
Shipping method is decided late, leaving carton design and assembly solution to the end.
In summary
Display stand production looks linear but demands constant feedback. Because the cost of decisions rises step by step, every correct decision made early compounds into saved time later. If you want to clarify which step your project is at, get in touch with us.
Share
Q & A
Common questions
How long does display stand production take?
For standard models made from existing tooling, lead time is a matter of weeks because the tooling step is skipped. For designs needing project-specific tooling, mould manufacturing is the longest step and total time extends with part size, complexity and cavity count.
Can the prototype stage be skipped?
Technically yes, but it is not advisable. The prototype is the only stage where errors are caught before the mould is cut. A detail corrected in five minutes on a prototype grows into significant time and cost once tooling exists.
Do we own the tooling?
This is a commercial matter settled per project. Ownership of the mould, its storage conditions and maintenance responsibility are headings that should be made explicit in the contract.
Should the stand ship assembled or flat-packed?
The decision follows shipping distance and store count. Flat-pack shipping cuts volume and sharply reduces freight cost, but forces assembly to be simple enough to require no tools. For short distances and a small number of stores, assembled shipping can be more practical.
How is quality controlled during production?
Control operates at two points: sampling checks for dimensions and surface on the injection line, and a final check after assembly. The final check covers dimensional tolerance, print position, joint tightness and stability under full load.